
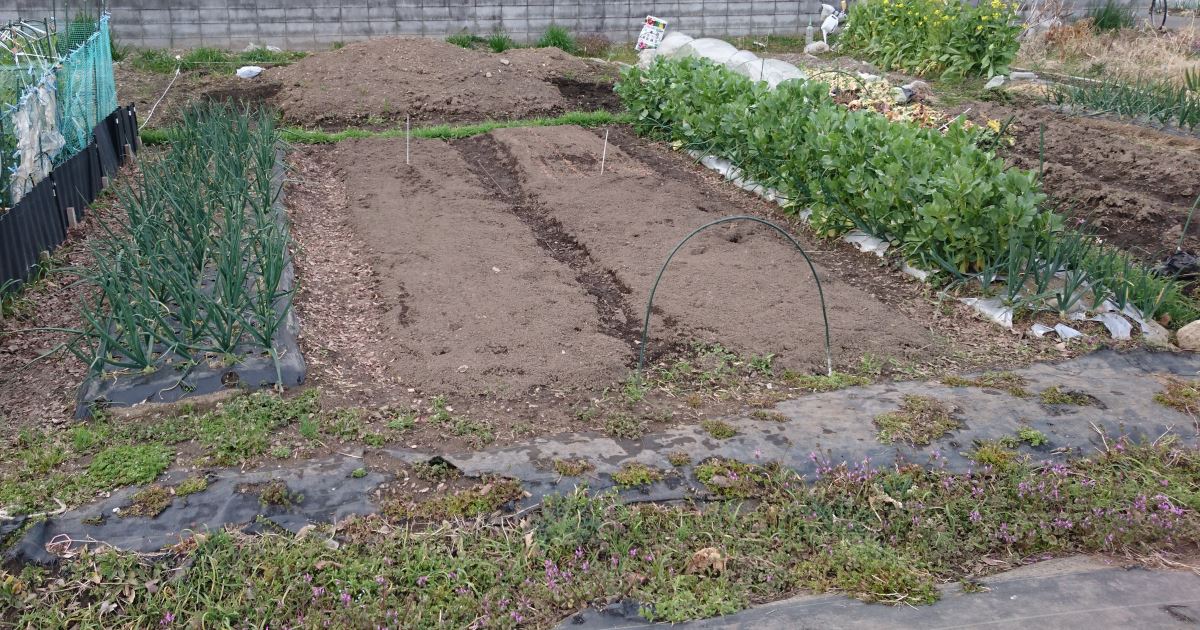
畝立て開始 2020.2.23
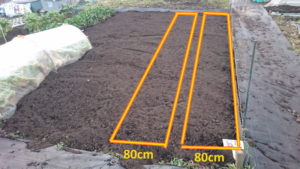
今回ジャガイモの畝は2本作る予定です。
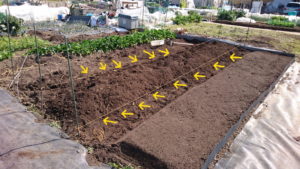
畝幅80cm 畝間40cm
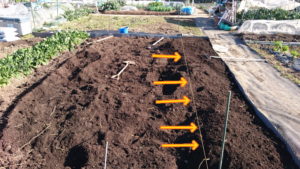
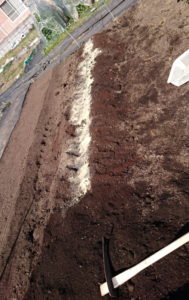
まずは畝立てする場所の土を掘り返します。

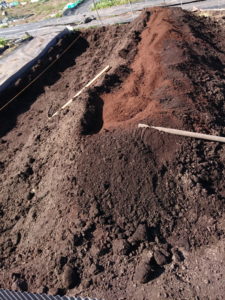
手前の茶色い箇所はフライングで入ってしまった牛ふん
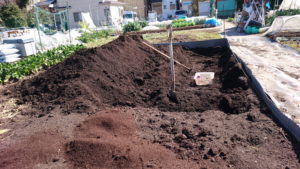
1畝分掘り返しました。
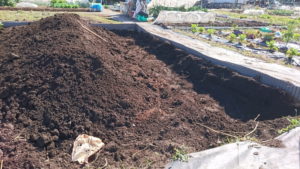
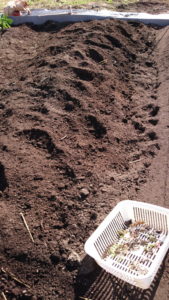
掘り出した土に牛ふんとリン酸を投入して混ぜ込みます。
ハプニング発生!
張り切りすぎて平鍬の柄が折れてしまった!
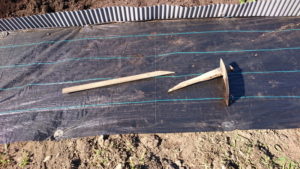
おじさんはリレミトの呪文を唱えた。

コメリで買った製品なのでコメリに鍬平(金属部分)を持っていったら柄だけ売ってたので多少安くなりました♪
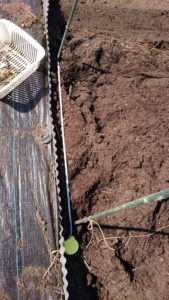
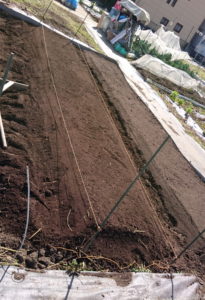
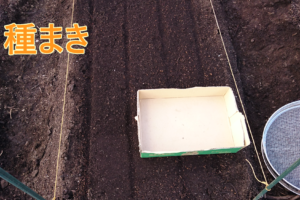
堆肥を混ぜ込んだ土を埋め戻したら紐を張って位置を決めます。
紐に沿ってレーキで大まかに形を整えます。(この時、土の固まりもレーキの先で砕きます。)
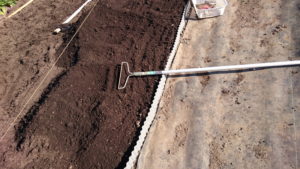
最後はトンボで表面を平にして紐の線に沿って脇部分を叩いて固めたら

畝の出来上がり♪
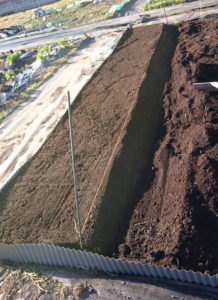
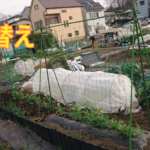
2つ目の畝立て 2020.2.24
1つめと同じ要領で進め堆肥を混ぜ込みます。
混ぜ込みながらゴミも同時に拾います。
畝の寸法はメジャーで測ります。
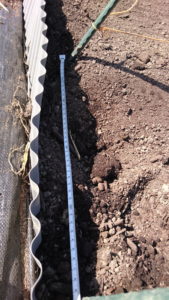
今回の畝幅は80cm
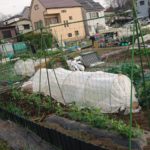
畝の位置を紐を張って可視化すると畝立てレベルが一気に上がります。(上がったように見えます。)
2本目の畝完成♪


コメントを残す